The most important part of a floor is the part you never see. Nine times out of ten, when a floor fails early, lifting, gaps, hollow spots, an uneven finish, the product was fine. The preparation underneath was not.
Why prep decides everything
Modern floors are thin and precise. Glue-down LVT telegraphs every bump beneath it; floating floors rock and click on high spots; adhesives fail on dusty or damp bases. A floor is only ever as good as what it is laid on, which is why we treat preparation as the job, not an afterthought.
The four steps that matter
1. Moisture testing
Before anything else, we check the subfloor is dry enough. Laying over a slab that is still holding moisture is the fastest way to ruin a floor, adhesives let go and timber swells. This matters especially on ground floors and new screeds. More on this in Moisture and flooring in Cape Town.
2. Removing the old floor
Old carpet, tiles, laminate or vinyl (and their adhesive residue) come up cleanly so we start on a sound, bare base. Ghost lines from old adhesive or uneven tile beds will otherwise show through.
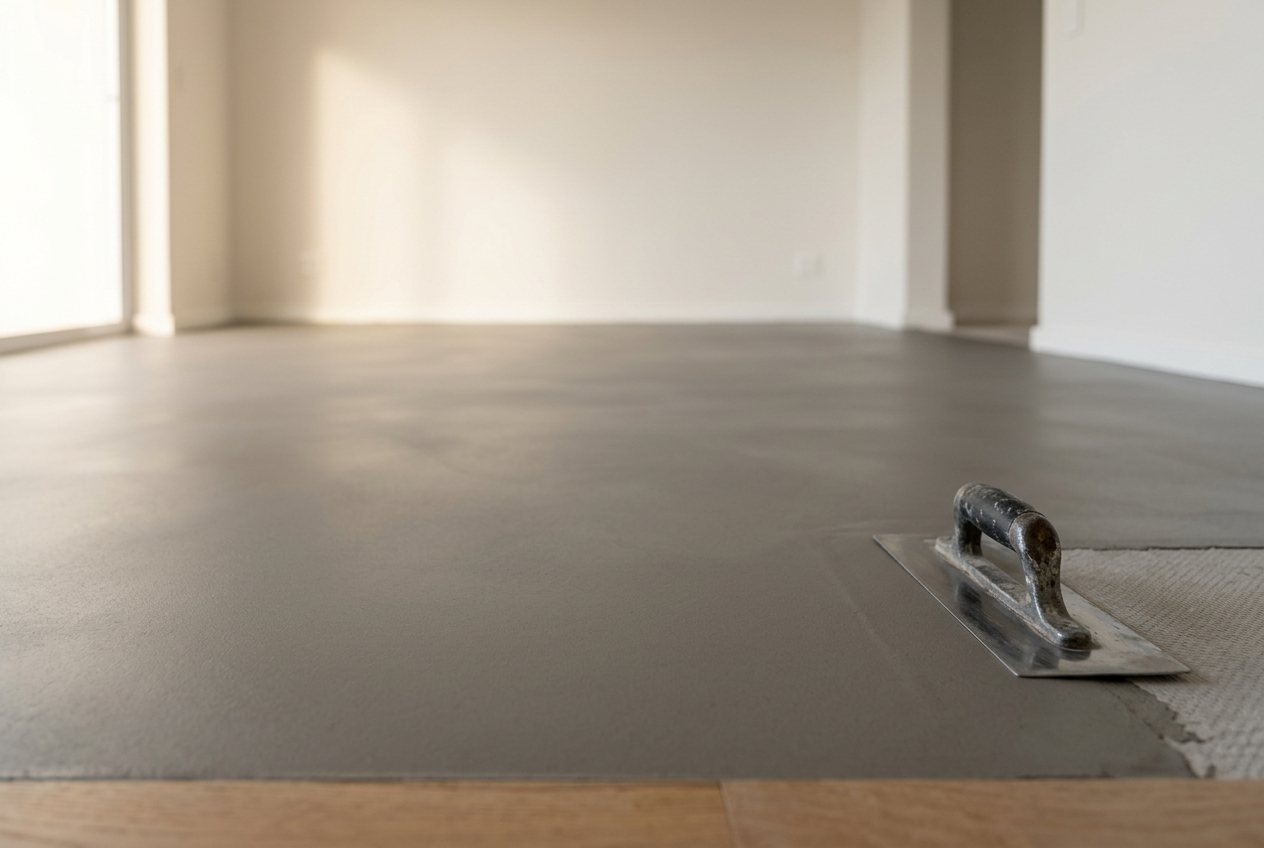
3. Levelling & screeding
A dead-flat base is non-negotiable under thin floors. We use cementitious screed or self-levelling compound to iron out dips and humps. This is the single biggest quality difference between a floor that looks perfect and one that ripples in raking light.
4. Priming & setting out
Primers lock down dust and give adhesives a proper key, and careful setting-out means balanced borders and fewer awkward cuts. Small details, big difference in the final look.
How much prep will you need?
It depends entirely on your existing floor. A sound, level slab may need little more than a clean and prime; an old, uneven or damp floor may need levelling and a moisture barrier. We assess it on site before quoting, so the price reflects the real work, no nasty surprises mid-job.
See everything we handle on the services page, then book a free on-site assessment.
Frequently asked questions
Why is floor preparation so important?
Because modern floors are thin and precise, they expose any problem in the subfloor. Poor preparation is the most common cause of floors failing early with lifting, gaps, hollow spots or an uneven finish. A flat, dry, sound base is what makes a floor last.
What does self-levelling do?
Self-levelling compound is poured over the subfloor to create a dead-flat, smooth base. It irons out dips and high spots so thin floors like LVT and vinyl sit perfectly and do not ripple, rock or wear unevenly.
Do I need to remove my old flooring first?
Usually yes. Old carpet, tiles, laminate or vinyl and any adhesive residue should be removed so the new floor is laid on a sound, level base. Laying over an unsuitable old floor risks telegraphing lines and unevenness through the new surface.
How long does floor preparation take?
It varies with the condition of the subfloor. A sound slab may only need cleaning and priming, while levelling, moisture barriers or removing an old floor add time, and screeds need drying time before laying. We assess and advise timing on site.
Not sure which floor is right for your space?
Send us your rooms and we’ll recommend the right product and give you a clear, free quote, supply-only or fully installed.
Get a Free Quote ↗